Stages Of Angelfish Eggs – Breeding Guide
The stages of angelfish eggs progress from tiny, adhesive spheres laid on a surface, through several days of embryonic development within the egg, to the emergence of “wrigglers” that absorb their yolk sacs, eventually becoming free-swimming fry ready for tiny foods.
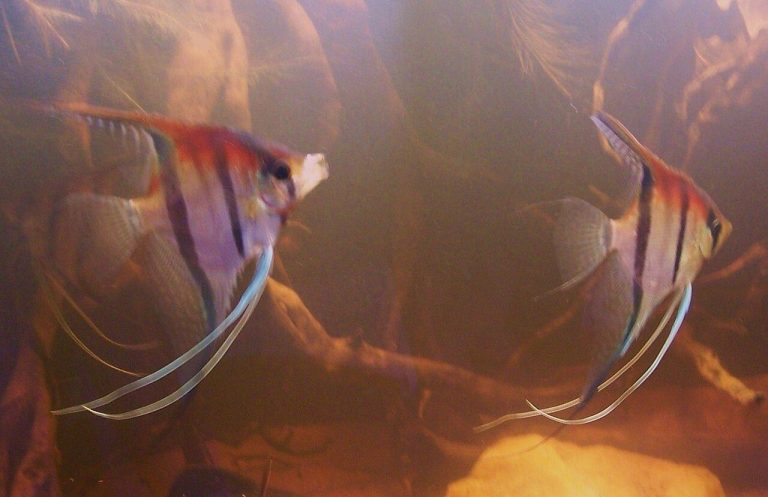
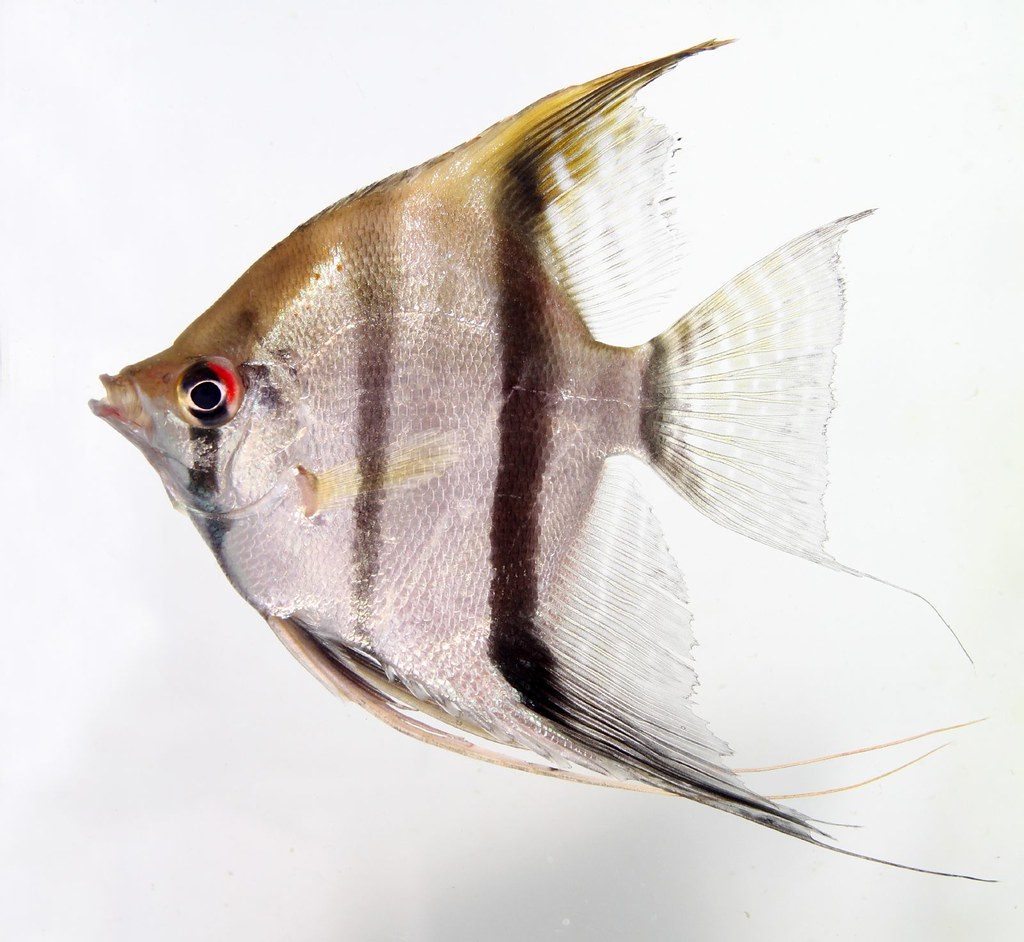
Few experiences in the aquarium hobby are as rewarding as witnessing the miracle of life unfold in your own tank. For many aquarists, breeding angelfish (Pterophyllum scalare) is a pinnacle achievement. It’s a journey that requires patience, observation, and a keen understanding of their unique reproductive cycle.
Watching angelfish eggs transform from translucent specks to actively swimming fry is eye-catching. This guide will walk you through every critical phase, from preparing your breeding pair to caring for the delicate fry. We’ll explore the interesting stages of angelfish eggs, providing you with the expert knowledge you need for success.
At a glance: Freshwater angelfish (Pterophyllum scalare)
- Temperature
- 76–84°F (24–29°C)
- Water pH
- 6.0–7.5
- Adult size
- 6 in long, 8 in tall (15 × 20 cm)
- Minimum tank
- 30 gal for a pair, 55 gal tall for a group
- Group size
- Pair or group of 5+
- Temperament
- Semi-aggressive, territorial when breeding
- Diet
- Omnivore: pellets, flakes, frozen bloodworm and brine shrimp
- Lifespan
- 10–12 years
Keeper’s tip: Choose a tall tank; height matters more than length for a fish that grows taller than it is long.
Understanding Angelfish Spawning Behavior (Pre-Egg Stage)
Before you can even think about the eggs, you need a healthy, compatible pair of angelfish. These majestic freshwater cichlids are devoted parents, but getting them to pair up and spawn requires the right environment and conditions.
In my experience, a well-conditioned pair is the cornerstone of successful breeding. This means providing a nutritious diet, maintaining best water quality, and giving them ample space.
Courtship and Pair Bonding
Angelfish often form monogamous pairs. You’ll notice a pair spending more time together, chasing away other tank mates, and performing a sort of “dance.” This courtship involves synchronized swimming, fin flaring, and gentle nudging.
They might also start to clean potential spawning sites. This behavior indicates they are getting ready to lay their clutch of eggs.
Preparing the Spawning Site
Angelfish are substrate spawners, meaning they lay their eggs on a flat, vertical or angled surface. Common choices in an aquarium include broad plant leaves, slate, PVC pipes, or a dedicated spawning cone.
I always make sure to provide several options in the breeding tank. This gives the pair a choice and reduces potential stress. Once they choose a spot, they will carefully clean it.
Right Water Parameters for Breeding
Water quality is the top priority for successful angelfish breeding. While angelfish can adapt to a range of conditions, specific parameters optimize egg development and hatch rates. Soft, slightly acidic water often encourages spawning.
Here’s a quick reference for ideal breeding parameters:
| Parameter | Ideal Range | Notes for Breeding |
|---|---|---|
| Temperature | 78-82°F (25.5-27.8°C) | Slightly higher temperatures can stimulate spawning and shorten incubation. |
| pH | 6.0-7.0 | Slightly acidic water is often preferred for egg development. |
| Water Hardness (dGH) | 3-8 dGH (50-150 ppm) | Softer water helps with egg fertilization and prevents hardening of the egg shell. |
| Ammonia/Nitrite | 0 ppm | Absolutely critical for egg and fry health. |
| Nitrate | <20 ppm | Low nitrates are always best for sensitive breeding fish and fry. |
The Initial Stages of Angelfish Eggs: From Laying to Fertilization
Once your angelfish pair has chosen and cleaned their spawning site, the actual egg-laying process begins. This is an exciting moment for any breeder.
The Spawning Process Itself
The female angelfish will pass over the chosen surface, depositing a row of small, adhesive eggs. Immediately following her, the male will pass over the same row, fertilizing the eggs.
This process is repeated many times, often for an hour or more, until hundreds of eggs are laid in neat rows. A typical clutch can range from 100 to 1000 eggs, depending on the size and age of the female.
Identifying Fertilized vs. Unfertilized Eggs
Immediately after spawning, all the eggs will likely appear translucent and uniform. However, over the next 12-24 hours, you’ll start to see a distinction. Fertilized angelfish eggs remain clear and slightly amber-colored.
Unfertilized eggs, on the other hand, will turn opaque white. These white eggs are susceptible to egg fungus and should ideally be removed by the parents or by you if you’re artificially incubating.
Protecting Your Clutch: Parental Care or Artificial Incubation
Angelfish are excellent parents, diligently fanning their eggs to ensure oxygenation and picking off any fungused eggs. However, in a community tank, eggs are often seen as food by other fish.
Even in a dedicated breeding tank, new parents might sometimes eat their first few clutches due to stress or inexperience. This is why many hobbyists opt for artificial incubation.
Pro Tip: Preventing Egg Fungus
Egg fungus is the bane of angelfish breeders. To combat it during artificial incubation, I always add a few drops of methylene blue solution to the water. This antifungal agent helps protect the healthy eggs from being overtaken by fungus spreading from unfertilized or dead eggs. Make sure gentle aeration without direct current on the eggs.
Day-by-Day Development: The Stages of Angelfish Eggs Hatching
The incubation period for angelfish eggs typically lasts between 2 to 3 days, heavily influenced by water temperature. Warmer temperatures (within the ideal range) will speed up development.
Day 1-2: Early Embryonic Development
Within the first 24-48 hours, if you look closely at the clear, fertilized eggs, you might start to see tiny dark spots forming. These are the developing embryos. You might even observe a faint heartbeat or slight movement within the egg casing.
The parents, if present, will be constantly tending to the clutch, fanning them with their fins and gently mouthing them to keep them clean and oxygenated.
Day 2-3: The Wrigglers Emerge
Around 48-72 hours post-spawning, the eggs will hatch, and tiny, almost transparent larvae will emerge. These are often called “wrigglers” due to their constant, jerky movements.
They are not free-swimming yet and will remain attached to the spawning surface, or sometimes fall to the tank bottom. Each wriggler has a noticeable yolk sac attached, which provides all the nourishment they need during this critical phase.
Day 4-7: Yolk Sac Absorption and Early Mobility
Over the next several days, the wrigglers will continue to absorb their yolk sacs. As the yolk sac diminishes, their bodies will become more defined, and they will begin to develop fins.
They will also start to become more mobile, detaching and reattaching to the spawning surface or walls of the tank. This is a essential transition period as they prepare for free-swimming.
Common Mistake: Premature Feeding
A frequent error I see beginners make is trying to feed the wrigglers too early. During the yolk sac absorption phase, the fry derive all their nutrition from the yolk. Introducing food before the yolk sac is fully absorbed will only foul the water, leading to potential bacterial issues and fry loss. Patience is key.
From Wriggler to Free-Swimming Fry: The Post-Hatching Journey
The transition from wriggler to free-swimming fry is a delicate stage, marking their readiness to actively seek food.
The Importance of Parental Fanning
If the parents are raising the fry, their role remains vital. They continue to fan the wrigglers, making sure clean, oxygenated water. They may also move the wrigglers to different sites if they perceive a threat or if the current location isn’t ideal.
This parental care is not just for hygiene; it also helps teach the fry critical survival behaviors.
Preparing for Free-Swimming Fry
Around day 5-7 post-hatching, depending on temperature, the fry will absorb the last of their yolk sacs and begin to swim horizontally. This is the signal that they are officially “free-swimming” and ready for their first external food.
At this point, if you’re artificially incubating, you’ll need to prepare their first meals and ensure the water quality is impeccable.
First Foods: Brine Shrimp Nauplii
Newly hatched brine shrimp nauplii are widely considered the gold standard first food for angelfish fry. They are tiny, highly nutritious, and their jerky movements attract the fry’s attention.
I always have a brine shrimp hatchery running a day or two before the expected free-swimming date. Infusoria or microworms can also be used, but fresh brine shrimp nauplii offer superior nutritional value for rapid growth.
Ensuring Success: Water Quality and Environment for Angelfish Fry
Raising angelfish fry successfully is all about careful attention to water quality and providing a safe, clean environment.
Maintaining Pristine Water
Fry are incredibly sensitive to water parameters. Small, frequent water changes (10-20% daily or every other day) are essential to remove uneaten food and waste. This prevents ammonia and nitrite buildup, which are lethal to fry.
Always use temperature-matched, dechlorinated water for changes. Sudden temperature or chemical shifts can be fatal.
Filtration for Fry Tanks
For fry tanks, a gentle filtration system is vital. A sponge filter, powered by an air pump, is the ideal choice. It provides both mechanical and biological filtration without creating strong currents that could harm or stress the tiny fry.
Make sure the sponge filter is well-established with beneficial bacteria before introducing fry. You can cycle it in a separate tank or with the breeding parents for a few weeks prior.
Growing Out the Fry
As the fry grow, their feeding needs and waste production will increase. You’ll gradually transition them to larger foods like finely crushed flake food, frozen daphnia, or specialized fry pellets. Regular sorting and culling for deformities or slow growth will help help you raise strong, healthy angelfish.
Providing ample space as they grow is also critical for proper development and fin growth. Consider moving them to larger grow-out tanks as they mature.
General angelfish care is important for fry, ensuring they develop into healthy adults.
Angelfish Breeding Timeline: From Egg to Free-Swimmer
Understanding the general timeline can help you prepare for each stage and anticipate the needs of your angelfish eggs and fry. Keep in mind that temperatures can slightly alter these durations.
| Stage | Typical Duration (Approx.) | Key Characteristics/Actions |
|---|---|---|
| Egg Laying & Fertilization | 1-2 hours | Female lays eggs, male fertilizes. Eggs are translucent. |
| Embryonic Development (in egg) | Day 1-2 post-spawning | Fertilized eggs remain clear; unfertilized turn white. Embryo visible. Parental fanning begins. |
| Hatching (Wrigglers) | Day 2-3 post-spawning | Tiny larvae emerge with large yolk sacs. Attached to spawning site, “wriggling.” |
| Yolk Sac Absorption | Day 3-7 post-spawning | Wrigglers absorb yolk sac, grow slightly, become more mobile. Do not feed yet. |
| Free-Swimming Fry | Day 7-10 post-spawning | Yolk sac fully absorbed. Fry swim horizontally. Ready for first foods (brine shrimp nauplii). |
| Growing Out | Weeks 2-12+ | Gradual transition to larger foods. Frequent water changes. Grow-out tank as needed. |
A few common questions About Angelfish Eggs
How long do angelfish eggs take to hatch?
Angelfish eggs typically hatch within 2 to 3 days, depending primarily on the water temperature. Warmer water (around 80-82°F) can accelerate the hatching process, while cooler temperatures may prolong it slightly.
What do unfertilized angelfish eggs look like?
Unfertilized angelfish eggs will turn opaque white within 12-24 hours after being laid. Fertilized eggs remain clear or slightly amber-colored. The white, unfertilized eggs are prone to fungal growth.
Why are my angelfish eggs turning white?
Angelfish eggs turn white for a few primary reasons: they are unfertilized, they are dead, or they have succumbed to fungus. Fungus often starts on unfertilized eggs and can spread to healthy ones. Poor water quality or lack of parental fanning can also contribute to eggs turning white.
Can angelfish eggs survive without parents?
Yes, angelfish eggs can absolutely survive and hatch without parents through artificial incubation. This involves carefully removing the eggs (or the spawning surface) to a separate tank, adding methylene blue to prevent fungus, and providing gentle aeration. Many breeders prefer this method to make sure a higher survival rate for the fry.
A last word
Understanding the intricate stages of angelfish eggs is key to successfully breeding these magnificent fish. From the initial courtship and spawning to the emergence of free-swimming fry, each phase presents its own challenges and rewards. With careful preparation, pristine water conditions, and a little patience, you can experience the profound joy of raising your own angelfish from tiny eggs.
The journey from egg to adult is proof of the wonders of the aquatic world. I hope this guide has equipped you with the confidence and knowledge to start this incredible adventure. Happy breeding.

- 2003First tank
- 20+Years keeping
- 40+Tanks kept
- 0Sponsored picks
Howard set up his first 10-gallon planted tank in 2003 and lost half of it within six weeks. Two decades and more than forty aquariums later, he writes the guides he wished he had then: clear numbers, the reasons behind them, and what actually goes wrong in home tanks.