Layers of a Succulent Terrarium – Essential Build Guide
The essential layers of a succulent terrarium include a bottom drainage base, a mesh barrier, an activated carbon layer, and a fast-draining gritty soil mix. This structure prevents water stagnation and protects delicate roots from rot.
Succulents thrive in arid, fast-draining environments where moisture evaporates quickly after rainfall. Creating these conditions inside an enclosed glass vessel requires a deliberate approach to substrate design.
Understanding the proper layers of a succulent terrarium is essential for long-term plant survival, especially when using containers without traditional drainage holes. By structuring your substrate effectively, you protect delicate root systems while creating an attractive, multi-tiered display.
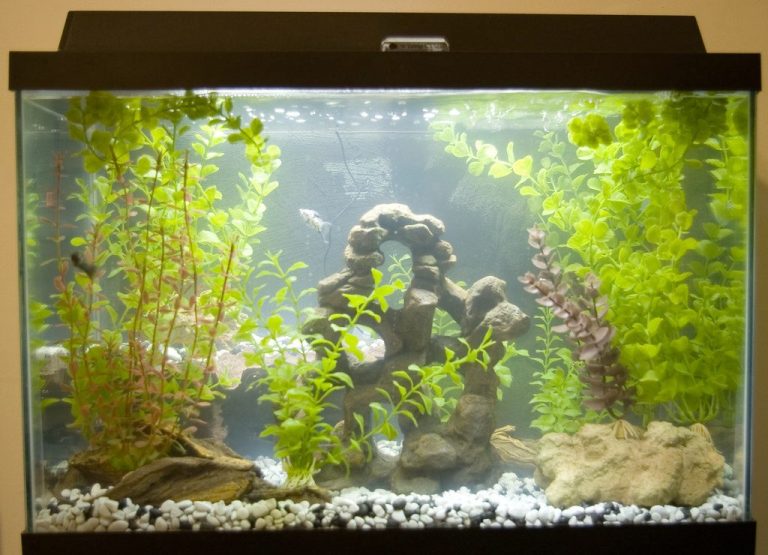
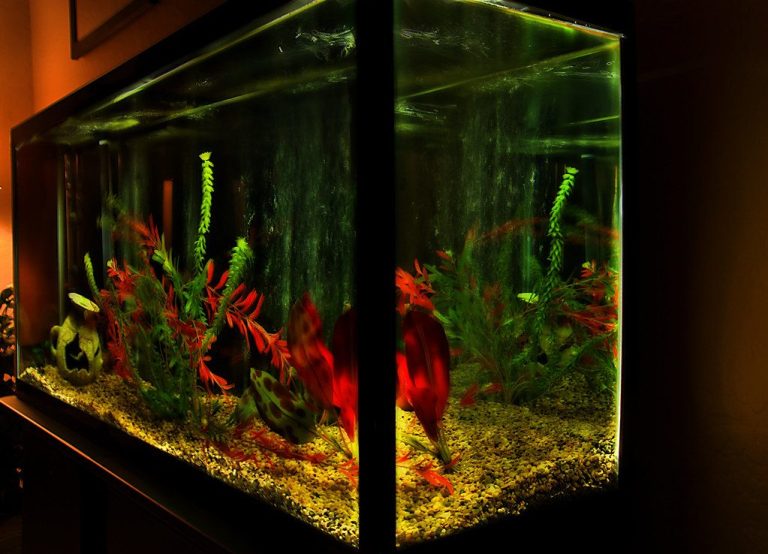
Whether you are repurposing an old aquarium or building a tabletop bowl, assembling the right layers ensures balanced hydration and excellent soil aeration.
Why Proper Stratification Matters for Arid Plants
In traditional potted gardening, excess water simply flows out through holes at the bottom of the container. Glass terrariums lack these outlets, which means any surplus water remains trapped inside the vessel.
Without systematic layering, standing water collects at the base and saturates the soil. This standing water deprives roots of oxygen, triggering anaerobic bacteria growth and devastating root rot.
Preventing Root Rot in Glass Containers
Succulent roots are anatomically built to absorb moisture rapidly during rare rainfall events and dry out quickly afterward. When roots sit in damp soil for extended periods, their tissue breaks down rapidly.
Proper layering separates the moist substrate from trapped excess water. The lowest section acts as a sump, keeping pooled liquid away from the vulnerable organic root zone above.
Managing Air Circulation and Substrate Moisture
Air movement within substrate is just as critical as drainage for xerophytic plants. Compacted potting soils block gas exchange, causing gas buildup and root suffocation.
By layering distinct particle sizes, you create natural void spaces throughout the container. These interstitial pockets promote oxygen diffusion down to the deepest root tips.
Pro Tip: Always prioritize ventilation by choosing an open vs closed container for arid builds. High humidity levels will quickly rot fleshy stems regardless of how well your substrate layers are constructed.
The Primary Layers of a Succulent Terrarium Explained
Building a functional substrate stack requires selecting materials with specific chemical and physical properties. Every tier plays a dedicated role in managing moisture, filtering impurities, or supporting structural root growth.
Layer 1: The Drainage Base (False Bottom)
The lowest level forms the drainage reservoir where excess runoff accumulates. This layer must consist of coarse, non-porous or hard-firing porous inorganic materials that will not break down over time.
Light expanded clay aggregate (LECA) is a popular option due to its lightweight nature and round shape, which maximizes open space between particles. Alternatively, crushed lava rock provides an ultra-rugged foundation with vast surface area for beneficial microbial colonizers.
Another highly resilient choice is a calcined clay drainage aggregate, which retains structural integrity under continuous moisture without turning into mud.
Layer 2: The Physical Separation Barrier
Without a partition, fine soil particles naturally migrate downward during watering and clog the gaps in your drainage base. A durable separation layer keeps the reservoir clear and operational.
A custom-cut non-woven geotextile barrier works best because it permits water pass-through while stopping microscopic soil grains. Fine fiberglass window screening or synthetic mesh netting can also serve as an effective physical divider.
Avoid natural fibers like cotton or burlap. These organic materials rapidly decompose under moist conditions, leading to unexpected layer collapse.
Layer 3: The Filtration and Odor Control Layer
Static moisture pockets inside glass vessels can eventually produce unpleasant smells if microbial activity goes unchecked. A thin layer of carbon neutralizes organic compounds before decay takes hold.
Spreading a horticultural charcoal layer directly above the separation mesh sweetens the environment by binding metabolic waste products. You can also mix in granular activated carbon to enhance chemical filtration across the lower substrate boundary.
This charcoal zone acts as a biological buffer, inhibiting mold spores and maintaining clean air conditions beneath the soil line.
Layer 4: The Growing Substrate Matrix
The core layer provides structural support and essential minerals while allowing rapid drainage. Standard commercial potting soil is far too dense and water-retentive for this purpose.
Instead, build an inorganic gritty substrate matrix using a blend of gritty components and minimal organic matter. Incorporate coarse volcanic pumice to create internal air pockets while offering gentle moisture retention that dries out in days rather than weeks.
Adding an akadama bonsai soil aggregate provides structural clay granules that gradually release trace minerals while holding their shape under moisture cycles.
Layer 5: Decorative Top Dressing
The surface tier serves both aesthetic and practical functions. It anchors shallow-rooted succulents, conceals the dark growing soil, and prevents lower leaves from touching damp substrate.
A clean coarse silica sand layer creates a sharp desert appearance while accelerating surface water evaporation around plant crowns. You can also use fine river gravel, washed aquarium gravel, or crushed slate for visual contrast.
Common Mistake: Skipping the physical separation barrier. Without it, fine soil particles wash into the drainage reservoir, clogging air gaps and causing standing water to wick back up into root zones.
Essential Substrate Layer Comparison Table
Choosing the correct material for each tier determines how efficiently your miniature ecosystem manages hydration. The table below outlines the ideal material choices, depths, and core functions for constructing proper layers.
| Terrarium Layer | Recommended Materials | Ideal Depth | Primary Function |
|---|---|---|---|
| 1. Drainage Base | LECA, crushed lava rock, calcined clay | 1.0 – 2.0 inches | Collects excess runoff away from root systems |
| 2. Mesh Barrier | Non-woven geotextile, fiberglass screen | Single sheet | Prevents soil migration into drainage voids |
| 3. Filtration Layer | Horticultural charcoal, activated carbon | 0.25 – 0.5 inches | Filters impurities and prevents foul odors |
| 4. Main Substrate | Pumice, Akadama, gritty succulent soil mix | 2.0 – 4.0 inches | Supports roots and provides quick-draining nutrients |
| 5. Top Dressing | Coarse silica sand, granite grit, lava gravel | 0.5 inches | Protects leaf stems and enhances aesthetics |
Step-by-Step Guide to Building Terrarium Substrate Layers
Building a stable substrate foundation requires systematic installation to prevent shifting over time. Following a disciplined assembly procedure ensures each tier functions as intended.
Step 1: Preparing and Rinsing Your Drainage Media
Before adding materials to your glass vessel, thoroughly rinse inorganic drainage media to remove fine dust. Accumulated stone dust can cement gravel together, defeating the purpose of a high-flow drainage base.
Pour your choice of LECA or lava rock into a bucket and wash with clean water until it runs clear. Allow the material to drain fully before placing it gently at the bottom of your container.
Carefully level the drainage bed using a soft brush or your fingers. Ensure the height remains even across all sides to maintain a clean aesthetic line through the glass.
Step 2: Installing the Barrier Mesh and Charcoal
Measure the inside diameter of your container directly above the drainage rock level. Cut your non-woven mesh slightly larger than this diameter to allow a slight upward lip along the glass edge.
Position the mesh firmly on top of the drainage stones. Press it gently against the edges to prevent soil particles from slipping down the sides.
Scatter a uniform layer of active carbon directly over the mesh separator. This step stabilizes the barrier while ensuring all downward water passes through charcoal before hitting the reservoir.
Step 3: Planting into the Mineral Mix
Add your prepared porous soil matrix over the carbon bed. Carefully arrange the soil depth to accommodate the root balls of your selected succulent species.
When arranging the layers of a succulent terrarium, accurate proportions matter. Keep the main substrate deep enough to cover roots securely without crowding the rim of your container.
Set your succulents into place, gently fanning out root systems. Fill around each plant with additional mineral mix, firming it lightly to eliminate large air pockets around the roots.
Once planting is complete, spread your decorative stone or coarse sand top dressing over the surface. Brush away stray grit from succulent leaves using a soft paintbrush.
Maintenance Strategies for Layered Arid Systems
Even with ideal stratification, long-term success depends on sensible hydration practices. Glass containers lack overflow safety margins, so monitoring internal moisture is critical.
Monitoring Moisture Levels in Glass Vessels
Inspect the bottom drainage layer before adding water. If standing water or heavy condensation remains visible in the reservoir bottom, hold off on watering.
Apply water precisely around the base of each plant using a narrow-spouted squeeze bottle. Aim to moisten the main substrate layer without filling the drainage basin to the brim.
Practicing proper moisture management prevents water accumulation in the false bottom and allows the gritty mix to dry out fully between care routines.
Preventing Salt and Mineral Accumulation
Because terrariums lack drain outlets, minerals from tap water and fertilizers accumulate in the substrate over time. White crusty deposits along the glass or top dressing indicate mineral buildup.
Use distilled water, reverse osmosis water, or clean rainwater to minimize salt accumulation. These pure sources keep your substrate clean and protect delicate root structures.
If mineral spots appear on the lower glass, gently wipe them away with a long cotton swab dampened with diluted vinegar, taking care not to spill acid into the soil.
FAQs About Succulent Terrarium Layers
Can you use standard potting soil for succulent layers?
Standard potting soil contains high concentrations of peat moss, which retains far too much water and compacts easily. Always blend standard soil with coarse pumice, perlite, or lava grit to create a fast-draining matrix suitable for desert plants.
How deep should each substrate layer be?
As a general rule, aim for a 1:2 ratio between your lower functional layers (drainage mesh carbon) and the upper growing substrate. A typical setup features 1.5 inches of drainage base and 3 inches of gritty soil.
Is horticultural charcoal strictly required in open setups?
While open containers enjoy better airflow than closed systems, charcoal remains highly recommended. It filters organic runoff, prevents stale odors in trapped lower moisture pockets, and deters root pathogens.
Can sand replace the entire drainage layer?
Fine sand should never replace coarse drainage rocks at the bottom of a container. Fine sand particles pack tightly together, trapping water like a wet sponge rather than allowing it to drop cleanly into a false bottom.
Final Thoughts on Perfecting Your Terrarium Layers
Constructing functional substrate tiers transforms a simple glass container into a stable living environment for desert flora. By creating a physical space between standing runoff water and active roots, you eliminate the primary cause of plant failure in glass setups.
Carefully selecting durable materials like pumice, lava rock, activated carbon, and separation mesh ensures your mini-ecosystem remains healthy for years. Take time to balance your substrate depth, water mindfully, and enjoy the natural beauty of your custom-layered desktop display.

- 2003First tank
- 20+Years keeping
- 40+Tanks kept
- 0Sponsored picks
Howard set up his first 10-gallon planted tank in 2003 and lost half of it within six weeks. Two decades and more than forty aquariums later, he writes the guides he wished he had then: clear numbers, the reasons behind them, and what actually goes wrong in home tanks.